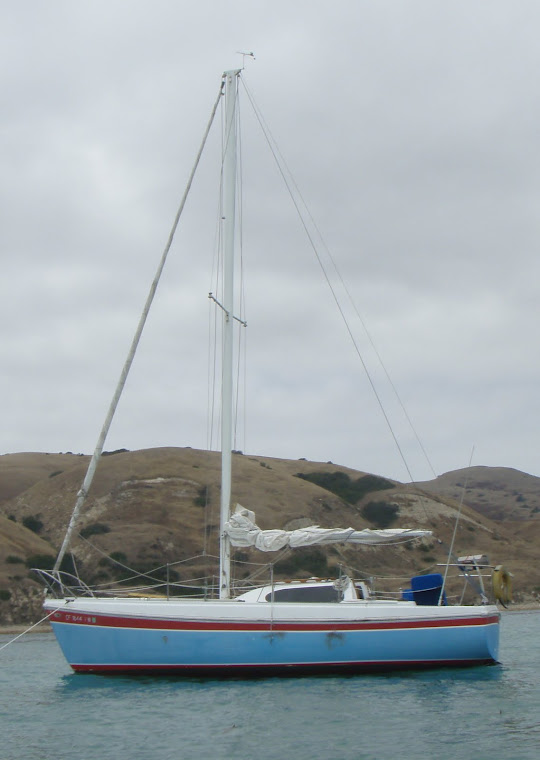


Don't want to lose the stick in ah heavy blow. The starboard bulkhead is less of a concern because it is glassed into the cabin liner and is therefore much stronger.
Last month I finally got around to tackling the port chainplate and bulkhead. First I disconnected the shrouds after marking the turnbuckle positions so I could re-tighten accurately. Then I removed the chainplate and inspected it for pitting. Only a few, very small pits were noted and no cracks were evident, so I deemed the chainplate still structurally sound and decided not to replace it. I then inspected the bulkhead and found it to be very solid, with very little actual rot. Just to be safe, I cleaned it thoroughly around the chainplate area and applied a boric acid based stop-rot product, allowing it to saturate the end grain of the plywood bulkhead and then dry completely.


The bad news was the discovery of substantial core-rot around the chainplate opening in the deck. I decided to make a riser around the chainplate to allow water to be directed away form the chainplate opening as is described in Don Casey's This Old Boat, an excellent book on boat repair. So I proceeded to cut away the top deck glass with a 3 1/2 inch hole saw. I then chiseled out the rotten balsa core, leaving the inner deck glass intact. I also, using a grinder, removed core material about 1/4 inch back from around the hole saw cut-tout to allow epoxy to flow in between the glass deck sandwich. I then taped up the chainplate and loosely reinstalled it. I used a plastic cup (this is the reason I chose the 3 1/2 inch hole saw since it was the same diameter as the cup) & cut off the rim to the desired height of the riser, smeared the inside with vaseline, and taped it to the deck around the hole.

Next I filled the entire hole and cup riser with thickened epoxy. About 10 minutes later...disaster! I used West 205 fast hardener and it was probably 75-80 F on deck at that time. The epoxy kicked off much to fast and the result was a volcano! Frustrated, there was nothing I could do but let it cure up and then return the next day. Thankfully, the riser is not structural so all the little air bubbles trapped in the epoxy shouldn't hurt anything.


After sawing off the volcanic epoxy mess to the desired height of the riser, I was able to sand it flat and taper the edges somewhat before applying several coats of filler epoxy, then sanding in betwen each coat until I had the riser looking pretty good. Just a bit of extra elbow grease (next time I will use the slow hardener and only fill 1/2 the hole at a time!). A final coat of topside paint and the riser was complete.


Back to the bulkhead inside, I decided to mount a backing plate for the chainplate bolts. I used a piece of 1/2 inch red oak because that's what was available a the hardware store and it was cheap. Marine plywood may have been preferable, but its a 30 minute drive to obtain it in Oxnard. I marked the outline of the backing plate on the bulkhead, taped it off, mixed up some thickened epoxy, buttered up the backing plate, and wedged a couple pieces of thin plywood in place to hold the backing plate securely to the bulkhead until the epoxy set up. I removed the tape just as the epoxy started to firm up.

After the backing plate had fully set, I drilled out oversize holes for the chainplate bolts, throught he bulkhead and backing plate, and filled these with thickened epoxy. After curing, I redrilled out the holes for the bolt diameter.


Finally, I filled all the little holes and nicks in the bulkhead with wood filler, sanded the entire bulkhead thoroughly, taped it all off, and painted the bulkhead glossy white, front and back. I used Rustoleum all purpose spray paint, so we will see how it holds up. I don't think I would use spray paint again because it was very difficult to keep the mist from settling all over the interior of the boat leaving everything with a coat of white and making me scamper around with a wet cloth trying to clean the paint off all the woodwork before it dried!
Finally, I reinstalled the chainplate, jammed lots of butyl tape around the plate through the deck, and installed the chainplate covers with lots more butyl tape (after polishing up all the chainplate and cover steel 'till nice and shiny!).


All in all it was a pretty easy and cheap, though time consuming project. The cabin looks much brighter and updated without the ugly fake wood laminate bulkhead. Now I just need to do the starboard side riser and chainplate inspection....someday!

No comments:
Post a Comment